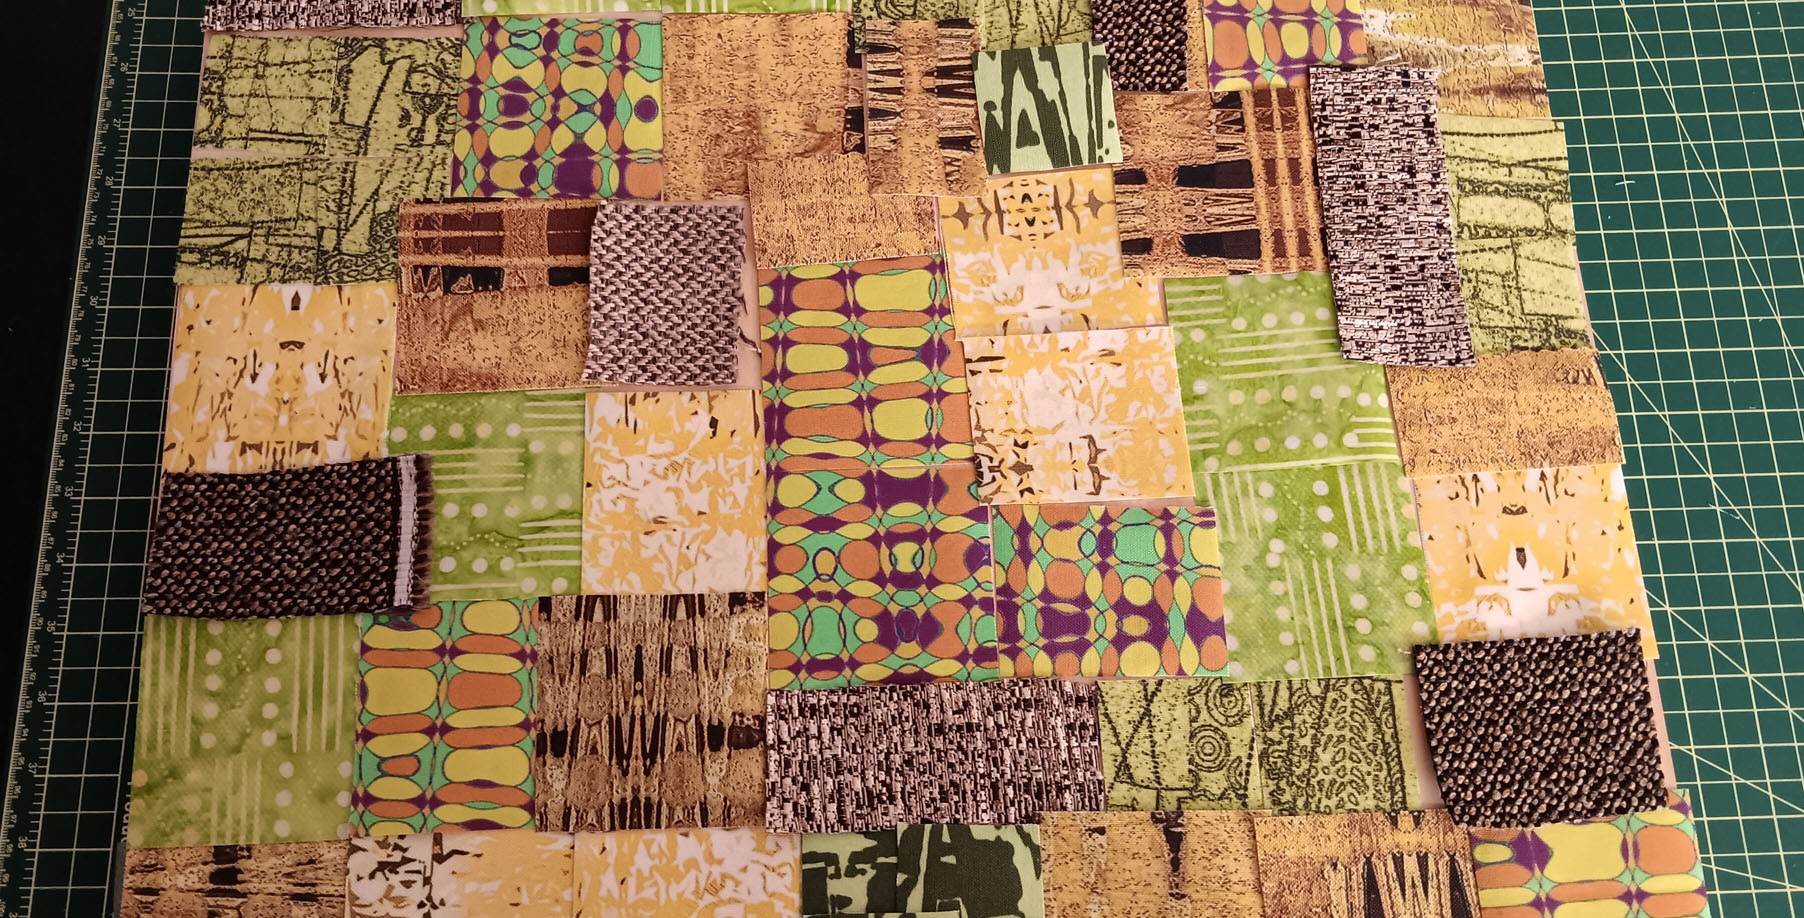
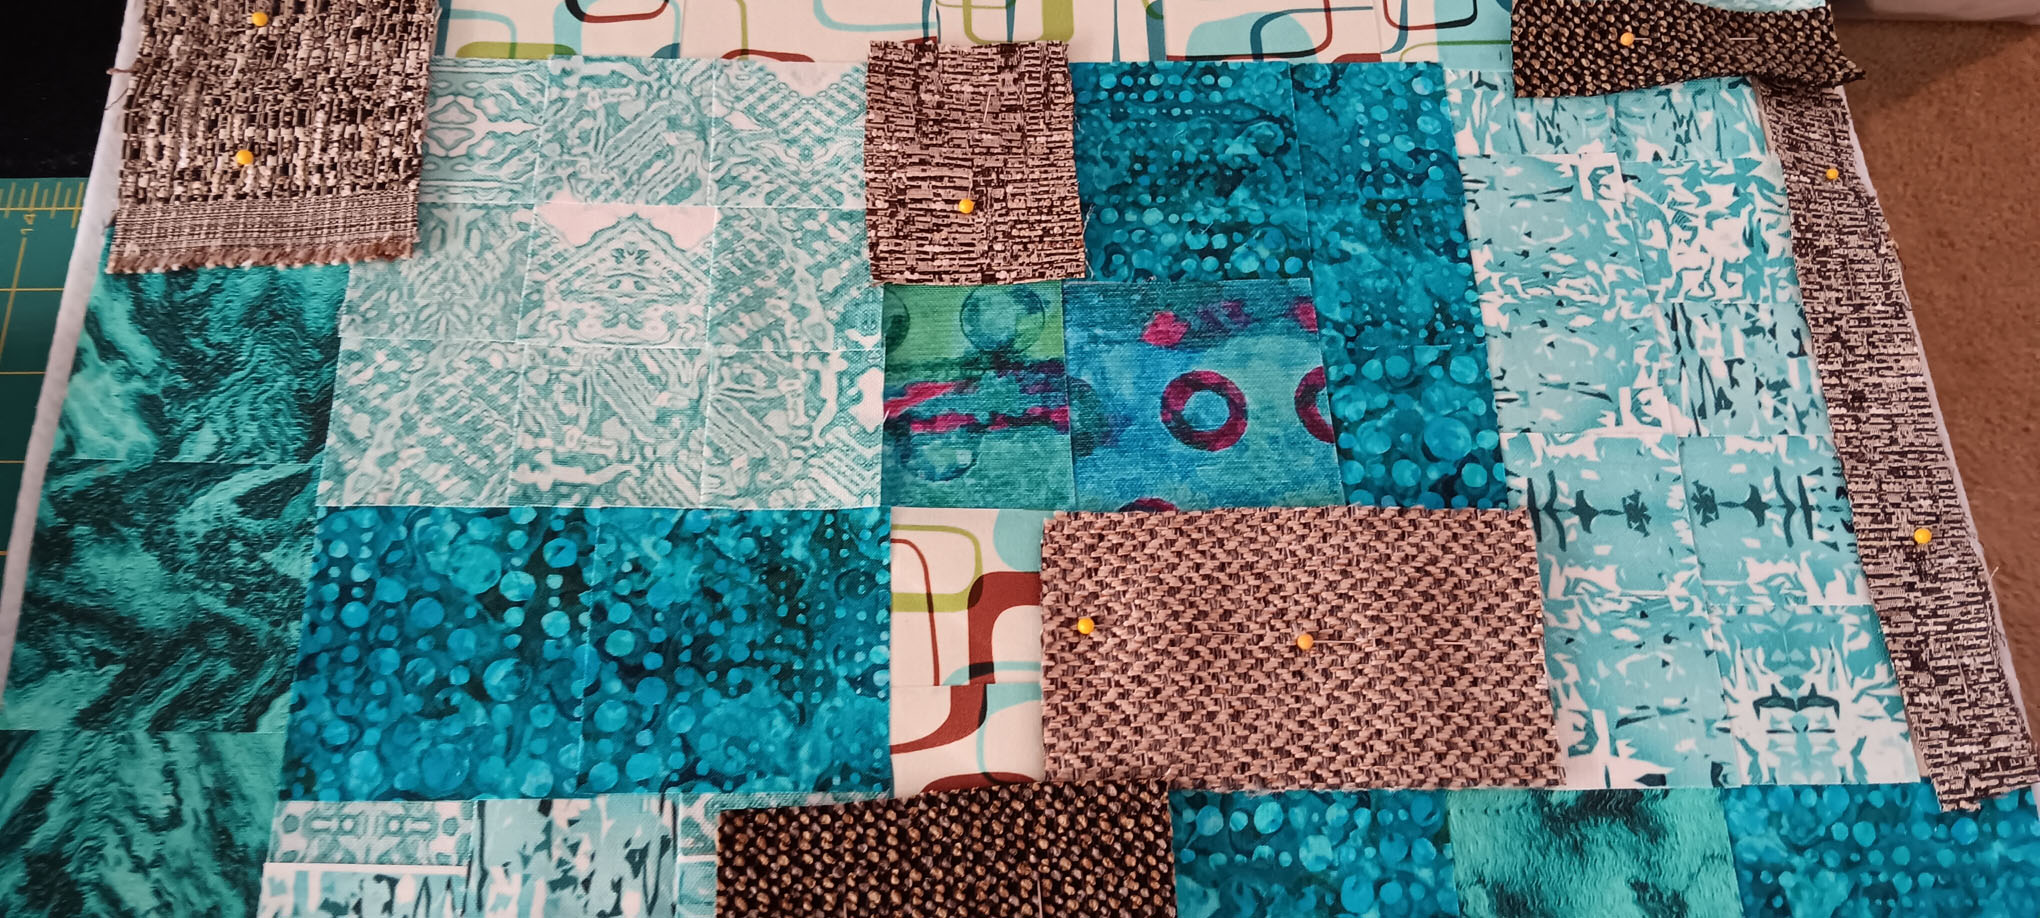
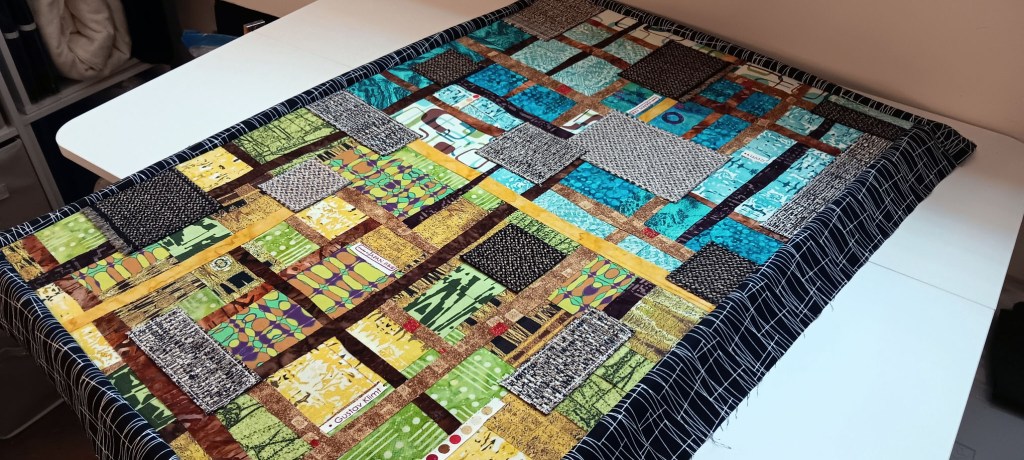
Here is an update on my Fabric Happy pieces – the two 16″ x 20″ pieces. One showcases fabrics in blues and the other in yellows/golds/greens. Feel free to read about these efforts HERE. I thought it would be interesting and more impactful to combine these into one 20″ x 30″ piece. It proved successful!
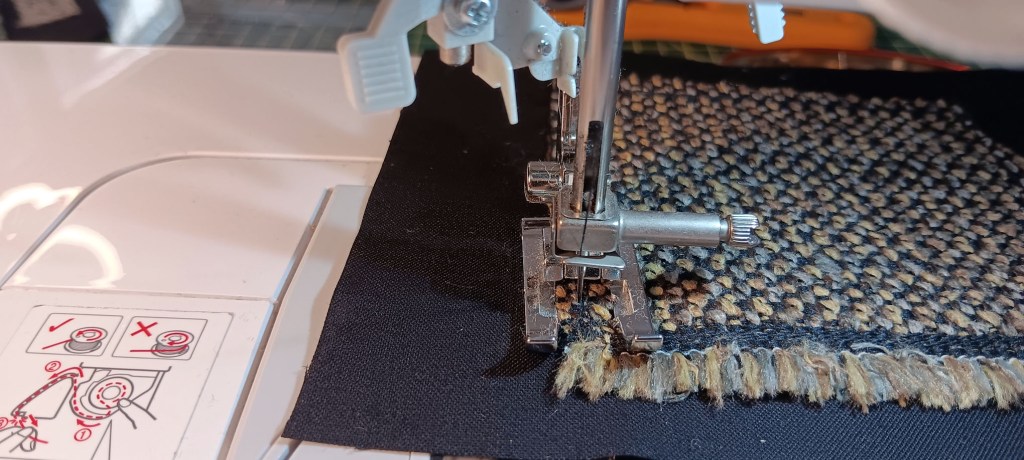
One thing that I needed to figure out was how to attach the upholstery patches throughout the pieces. They are heavier and would definitely be difficult under my sewing machine. So, I decided to make them appliques.
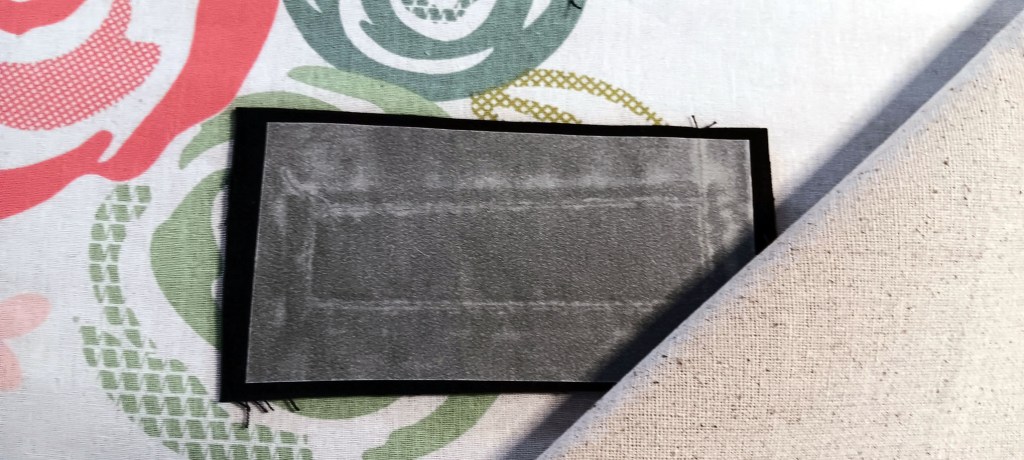
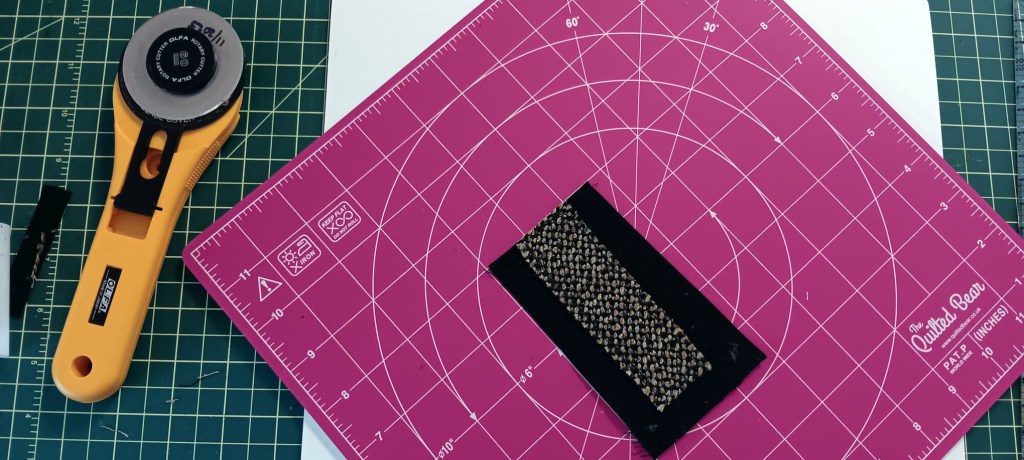
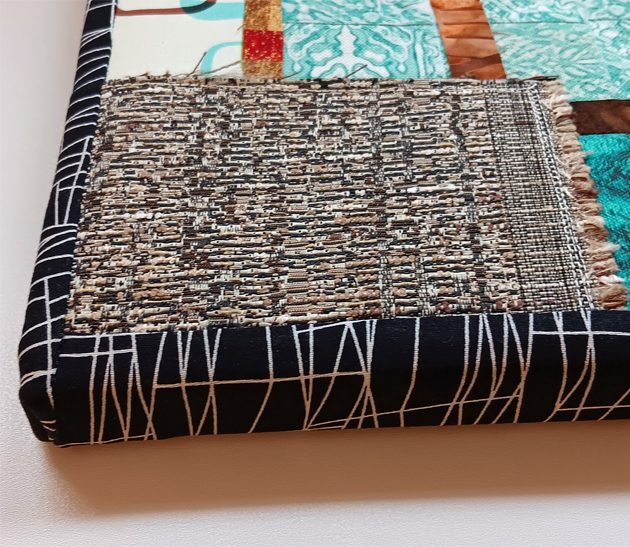
First, I would sew the upholstery piece onto a piece of black Kona fabric. This would serve as a substrate for the upholstery fabric which could then be attached to the overall piece. Sewing around the upholstery fabric creates a nice border. I skip sewing on the fringe as I want this to hang freely.

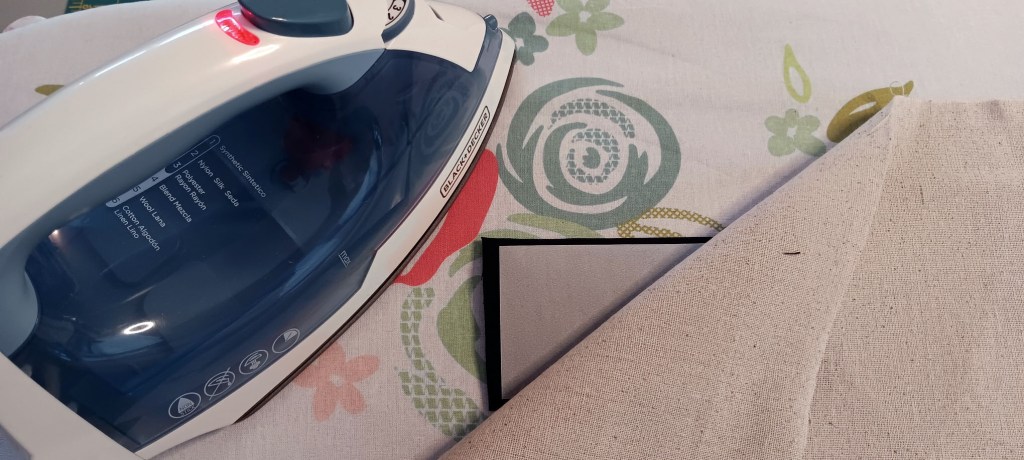
In the example below, I fuse the background fabric with a piece of Heat n Bond fusible. The fusible works well and only takes a few moments with the iron.

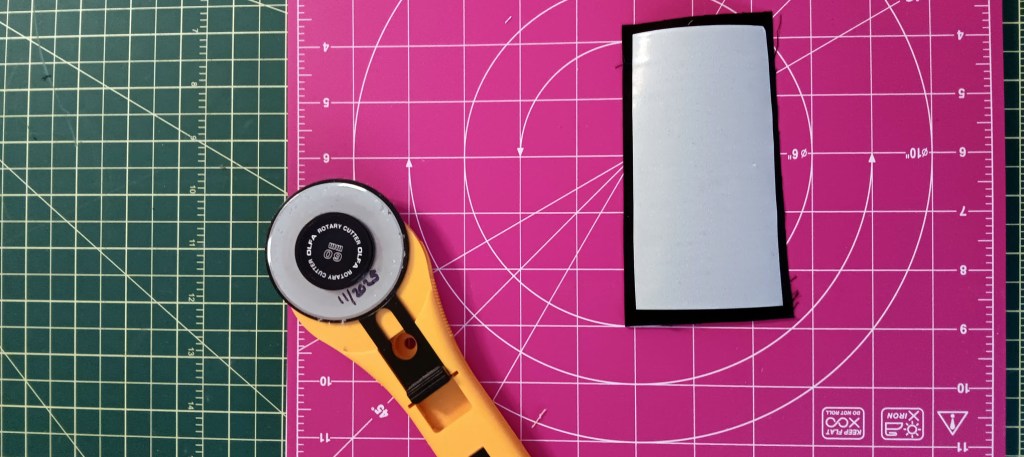

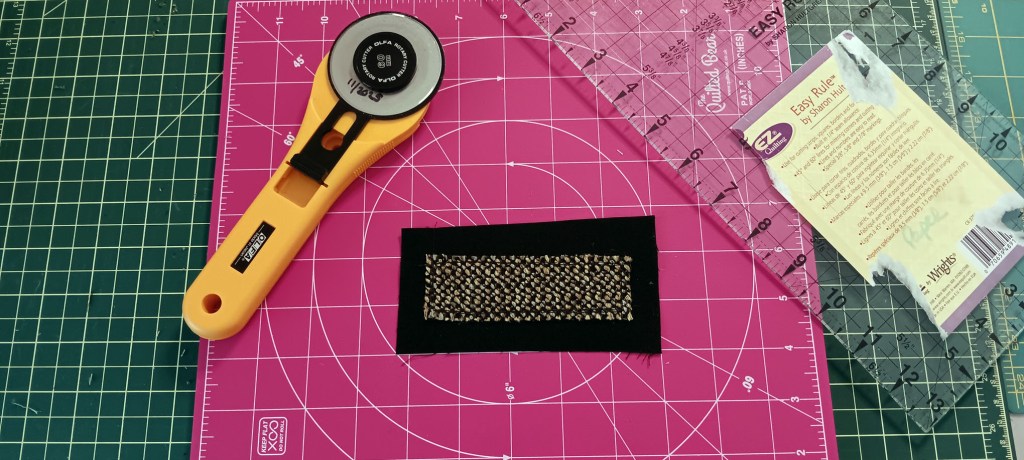
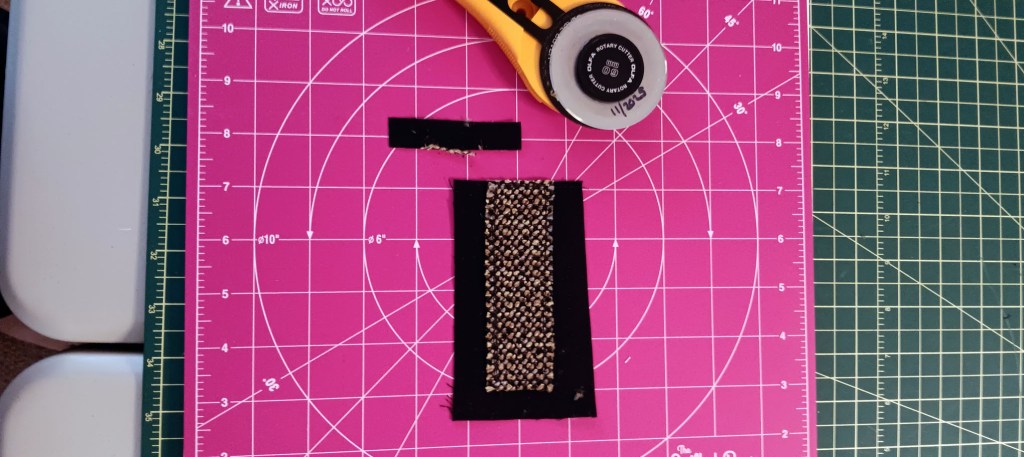
Once ironed, I peel off the fusible paper. Then, trim off the black Kona background fabric from the upholstery piece. I’m using my rotating 12″ square cutting board. This has been a real game changer in my studio this year.
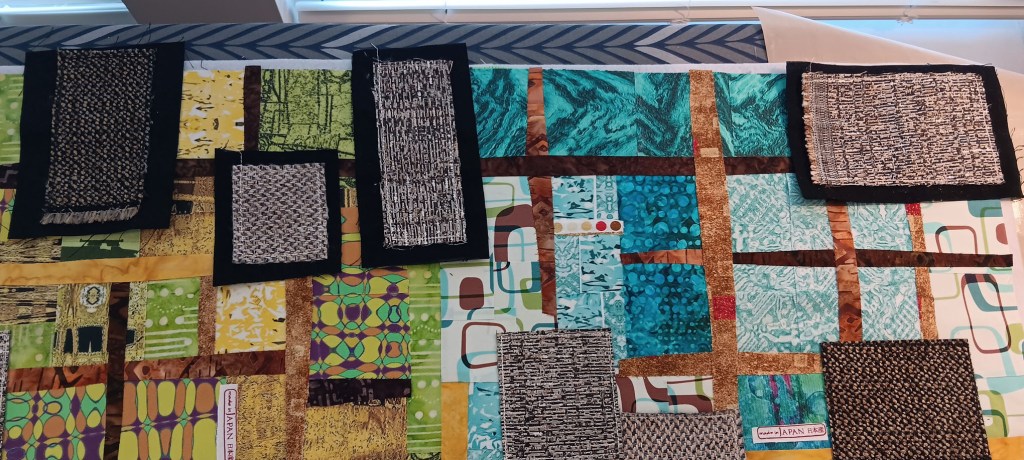
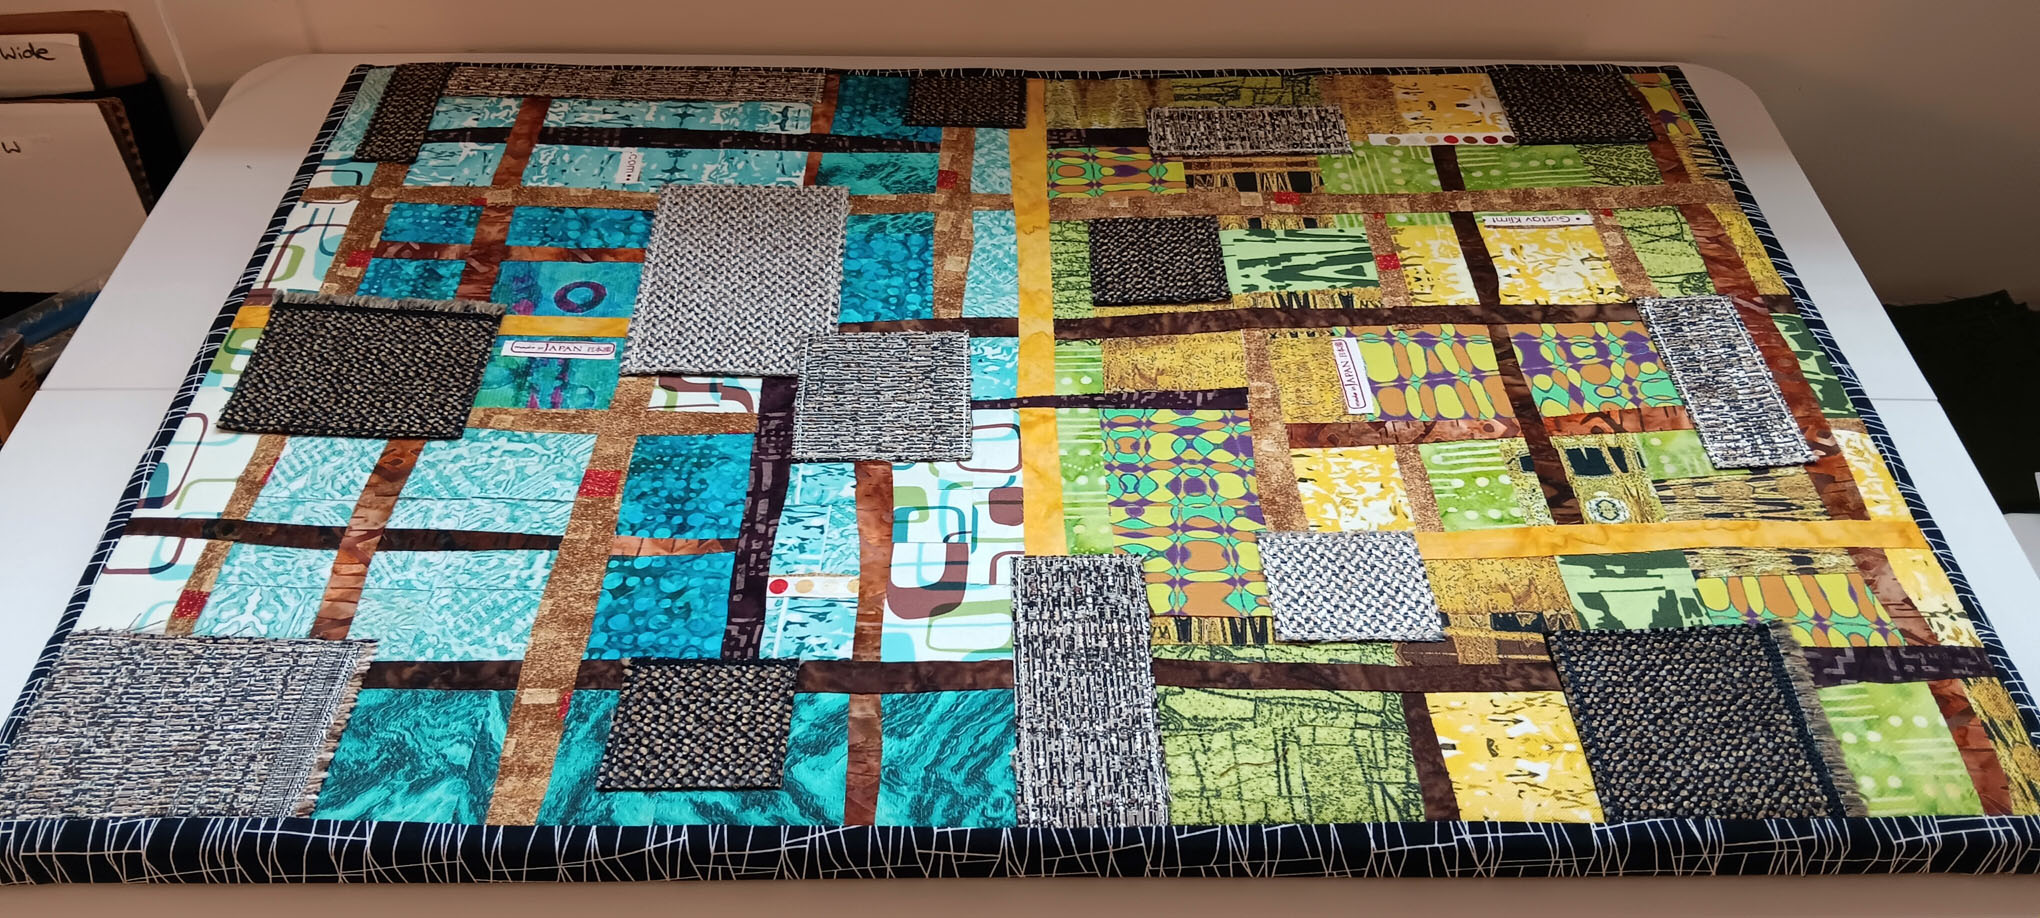
Below are all the finished applique pieces. I then iron them onto the piece using the highest heat setting on my iron.

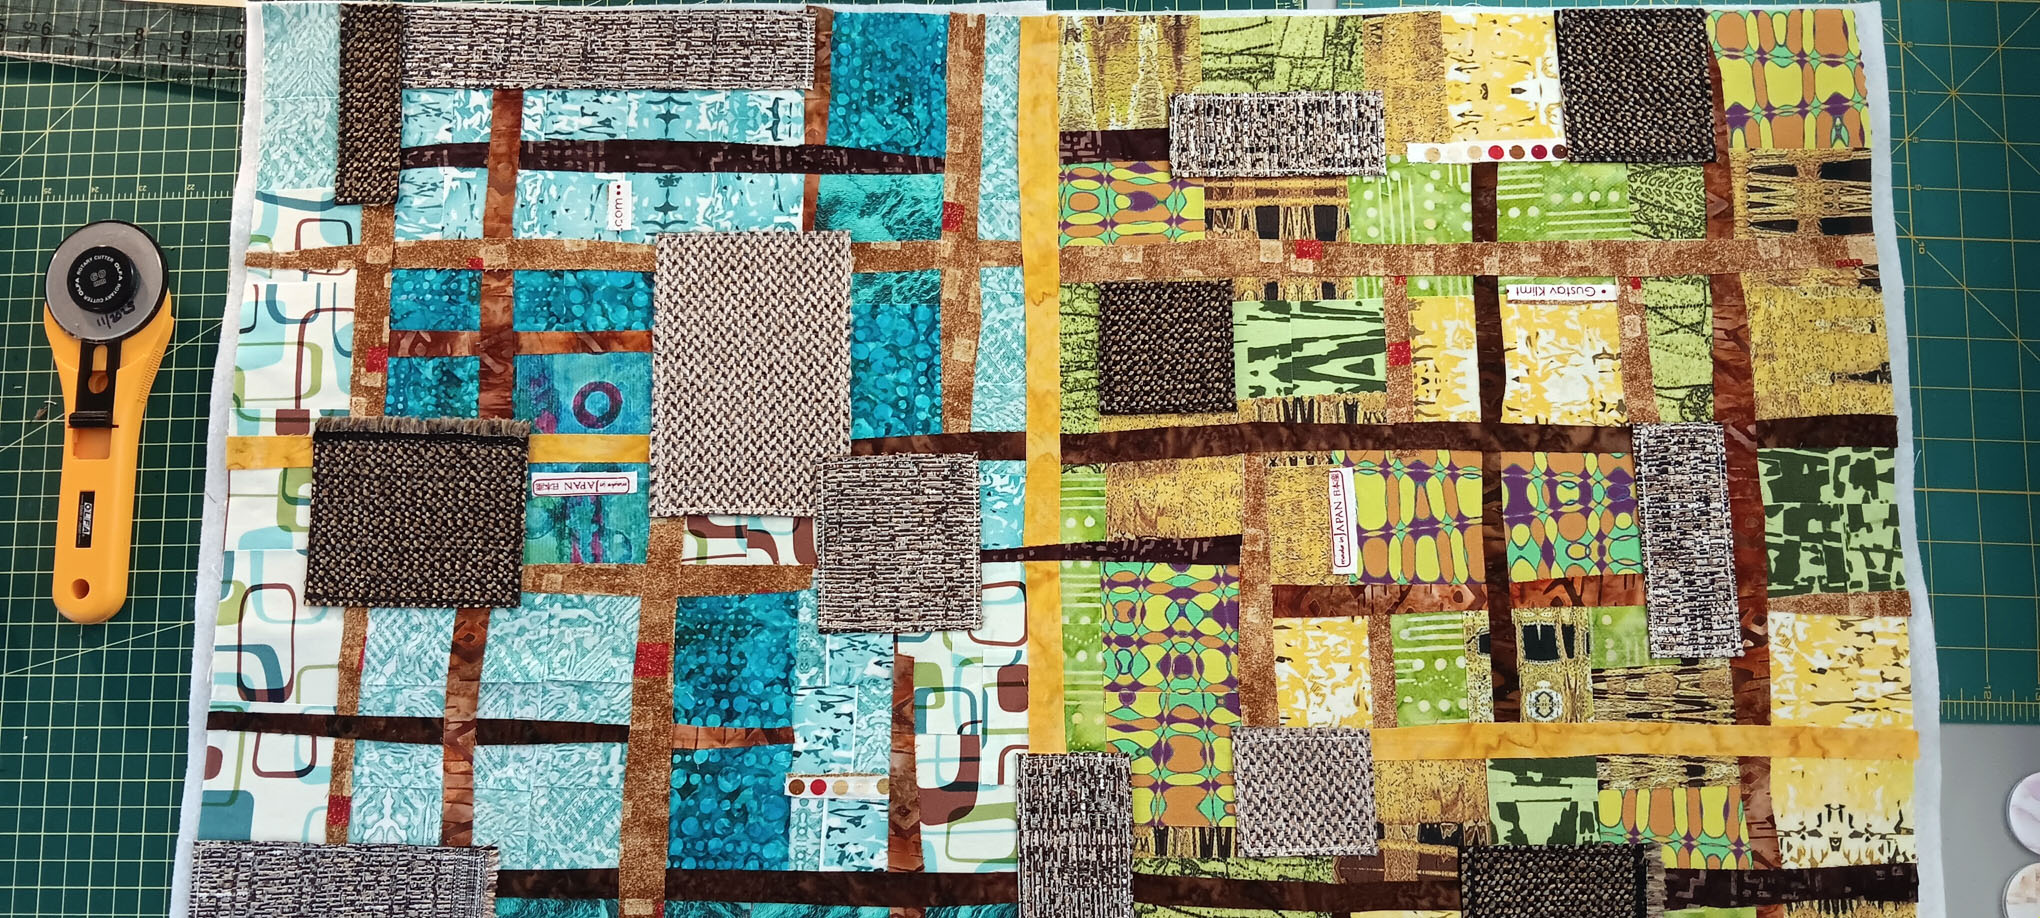
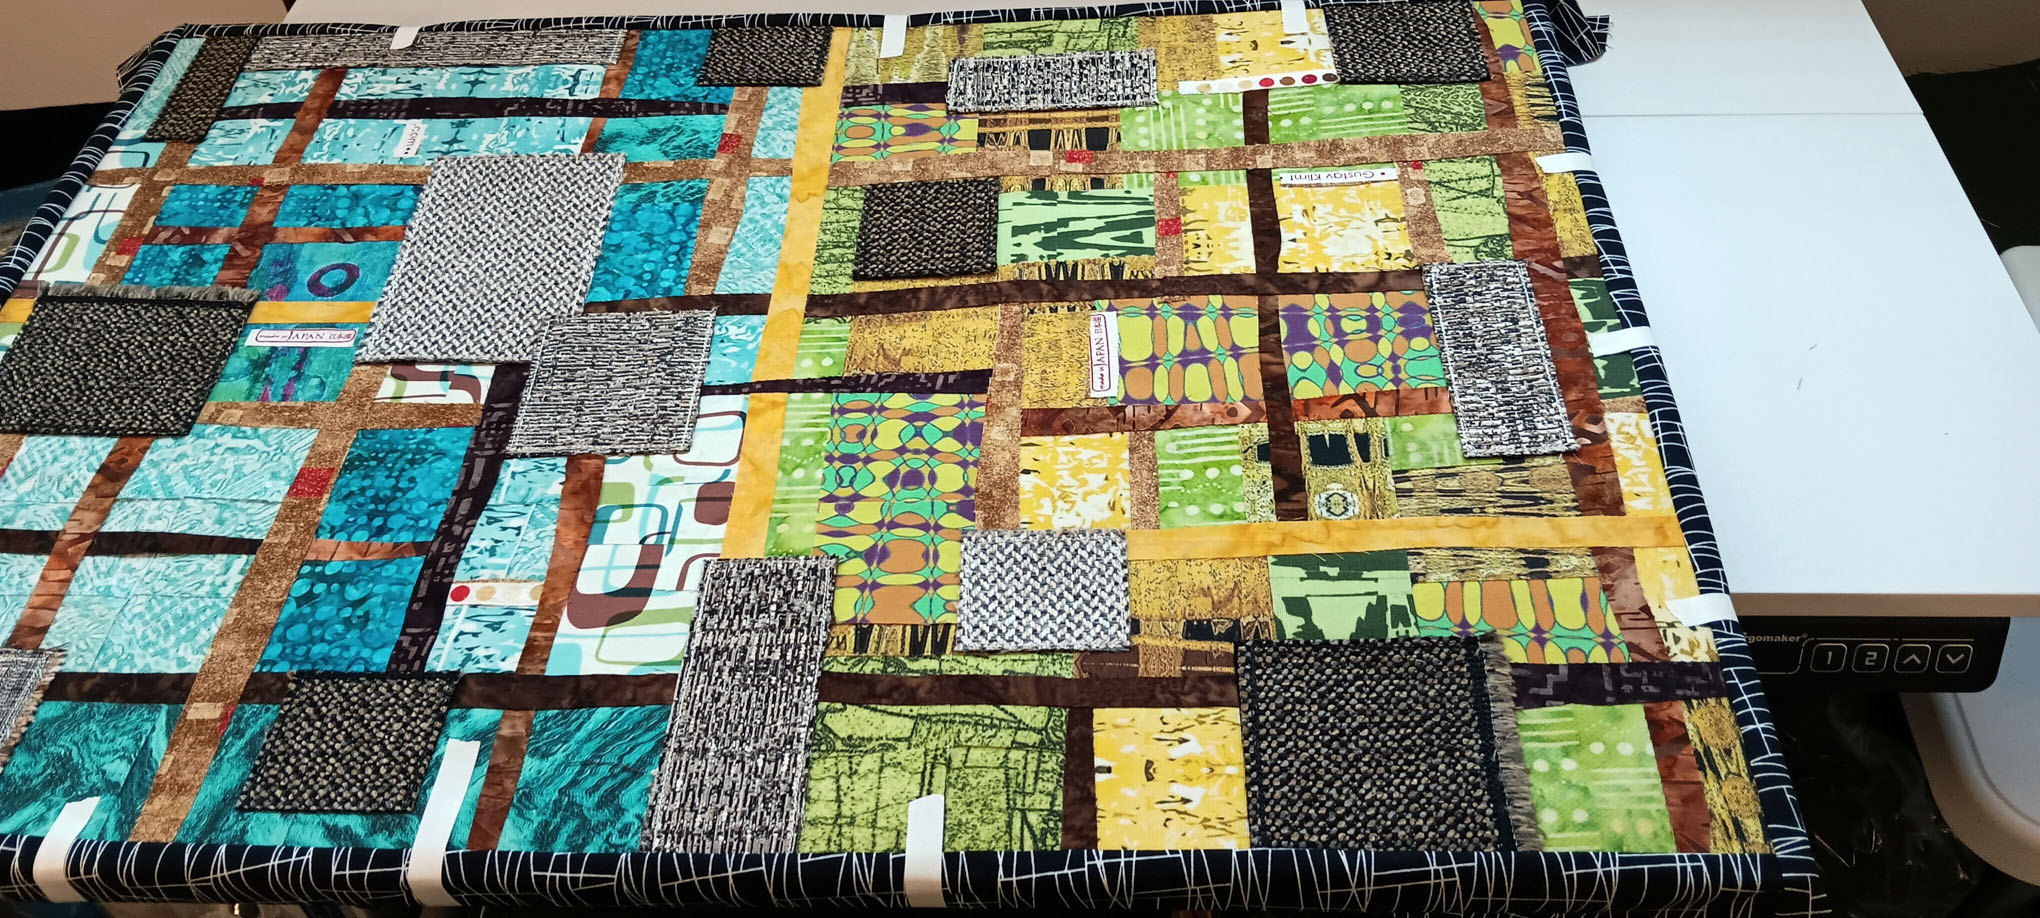
Here is the finished piece with the applique fused onto the top. The rest of the fabric squares are glued down.
I chose to use lines to lead the viewer’s eye across the piece. These strips weave across the fabric, becoming intertwinements that bind the piece together.
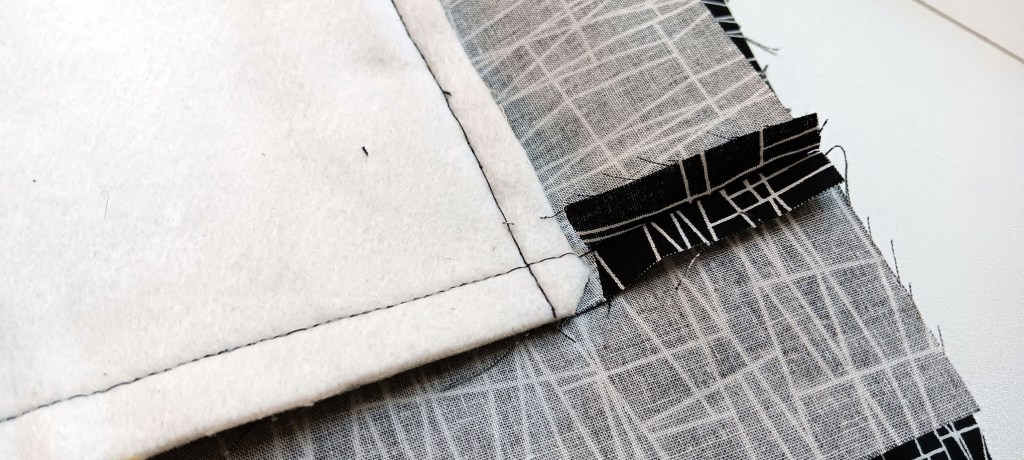
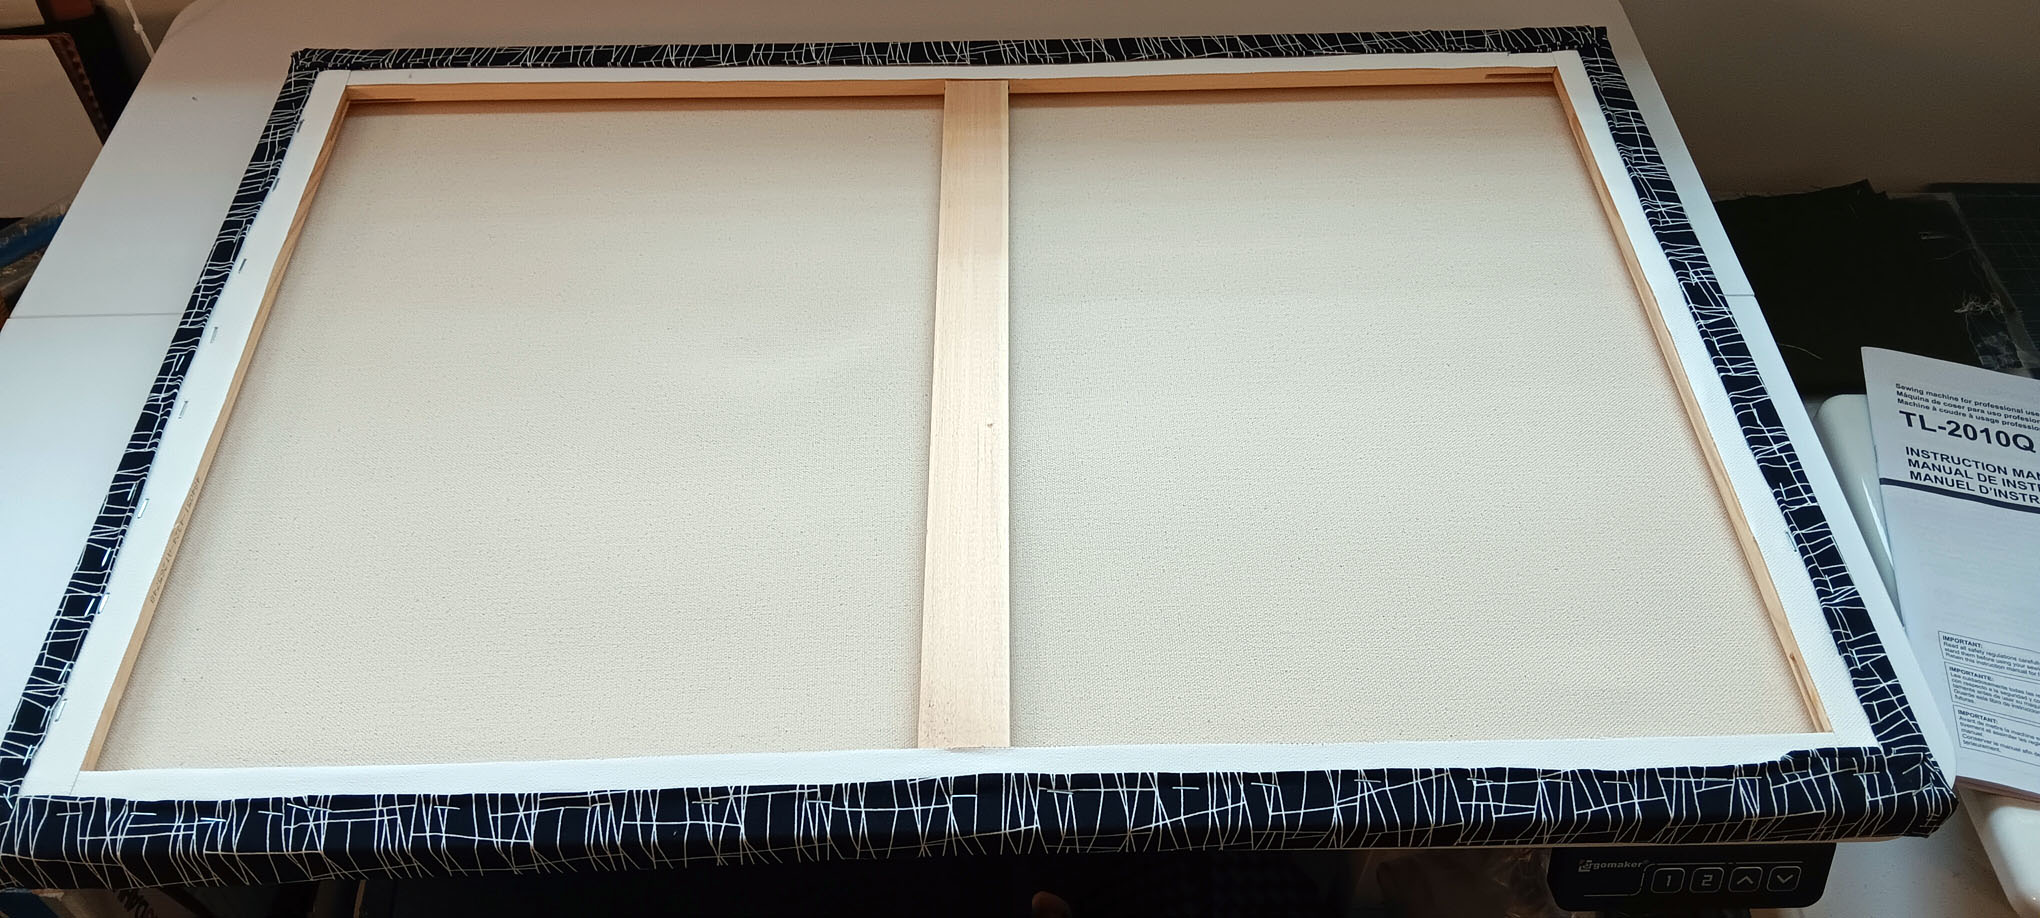
For the binding, I wanted to use extra lines for movement. I trim the piece to fit a 20″ x 30″ stretched canvas. The border is (4) pieces that are 3″ wide. The side borders are attached first and then the top and bottom. The corners are snipped for a better fit around the canvas. I also finger press the seams open for flatter corner seams.

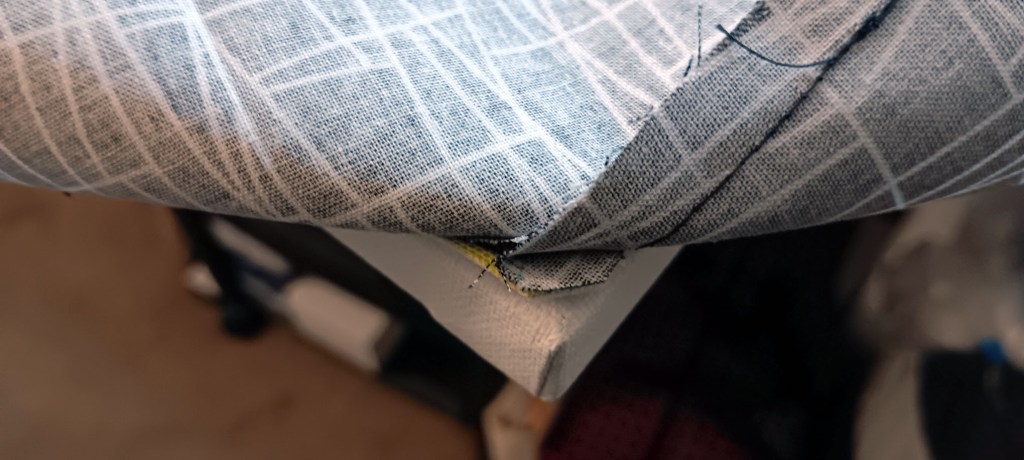
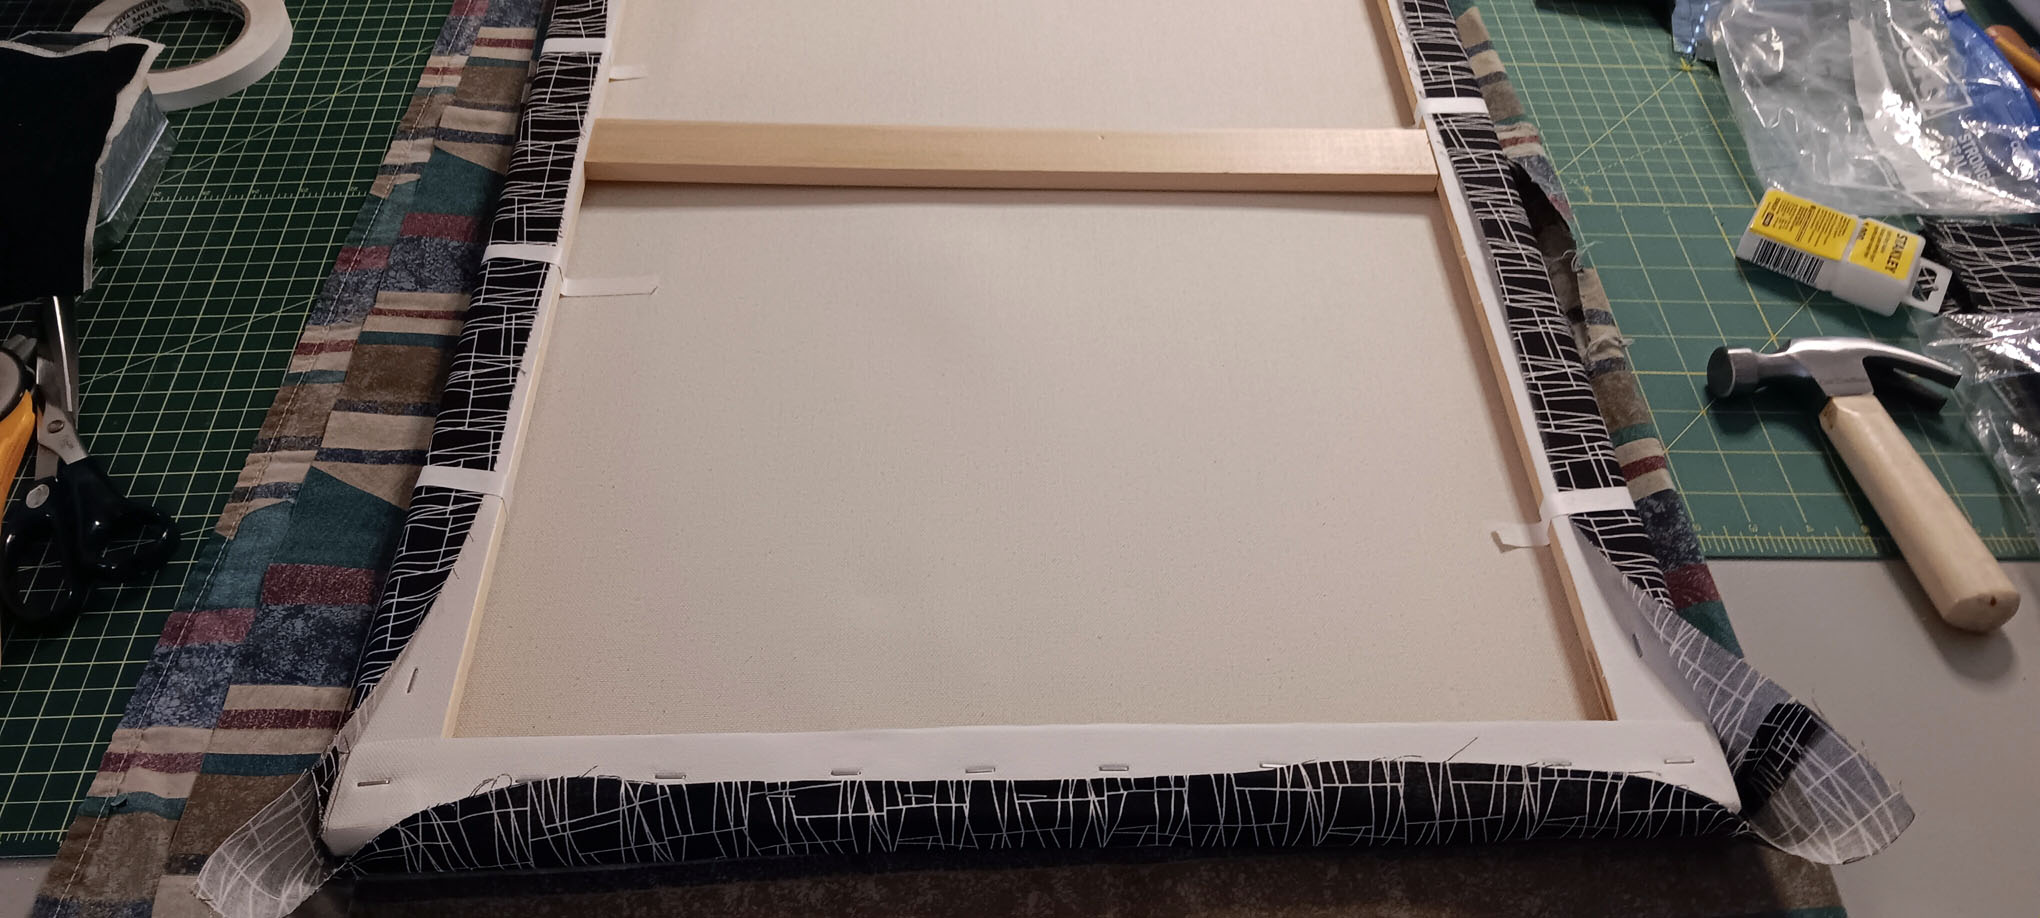
To attach the piece to the canvas, I use artist tape to hold the binding in place. This tape has minimal gum and does not leave a residue on the fabric.
I tape the front of the piece and then wrap the tape around to the back. This helps me move the piece to my larger table. I then use my staple gun to attach the binding to the back of the canvas.
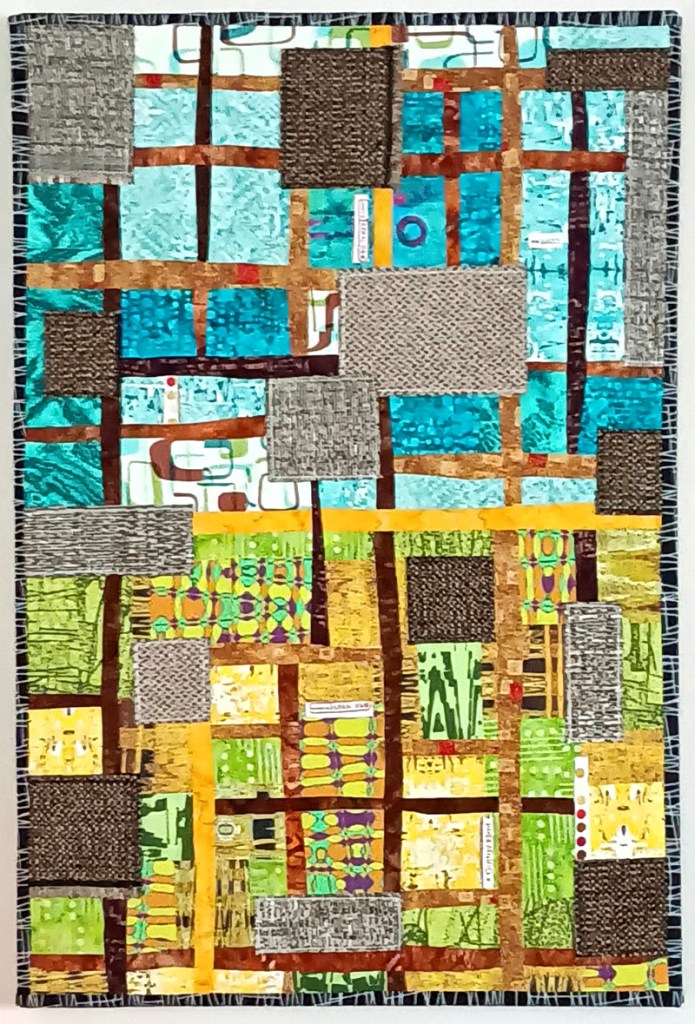
This is the finished piece. I am really pleased with it! I’ve added some of the selvedge from the fabrics that I used. The “Made in Japan”, “.com” and color dots. I thought these were fun touches.
Here are some final images of Our Fabric Within.


Leave a comment