With Spoonflower fabric panels, making mini quilts is a now much easier. The panels hold 45- 10″ squares printed on a good quality cotton. So I can do an entire collection and then some.
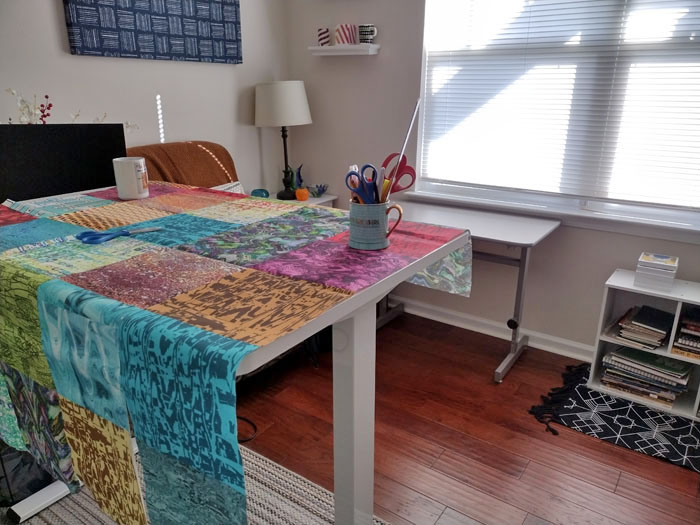
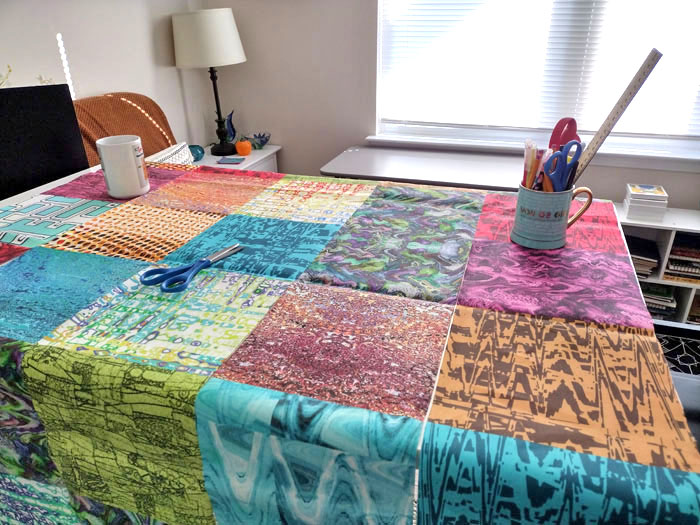

I work with a giant-sized cutting mat on my standing desk. The standing desk allows me the most flexible angles to move the panel and cut the squares out. What I love about the desk is that I can program in the height to work on my minis. It is just the click of a numbered button. In my case, clicking Number 1 brings the desk to normal sitting height. Clicking Number 3 brings it to standing/cutting height. Numbers 2 and 4 are various sitting heights.
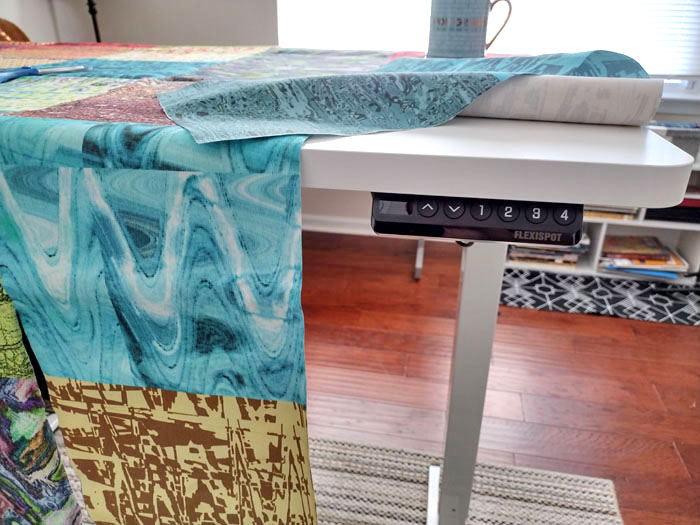
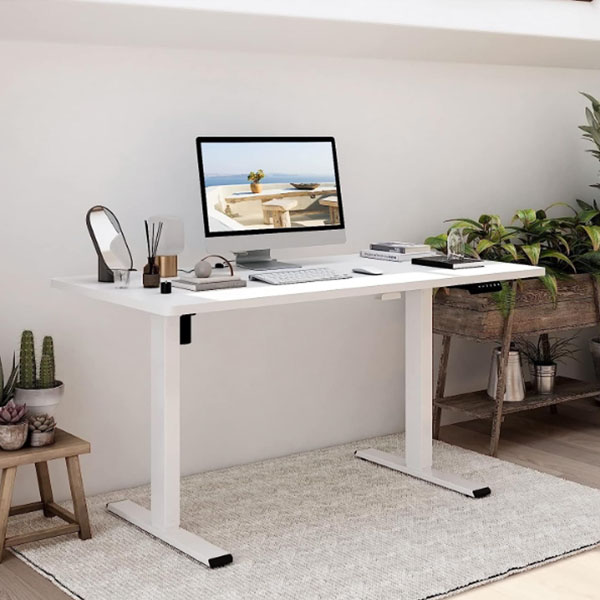
NOTE: Standing desk – Amazon
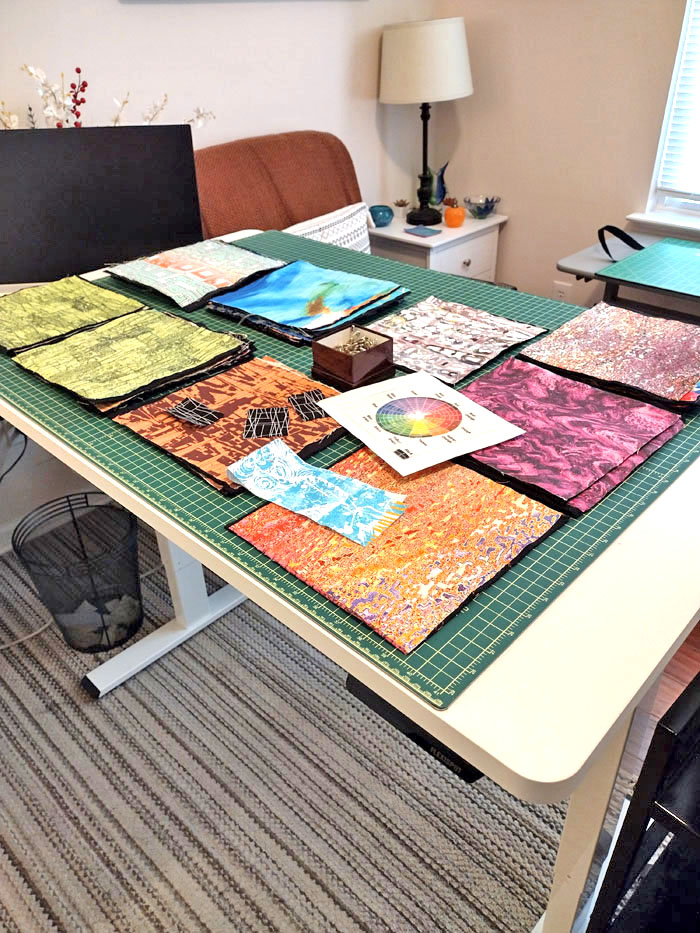
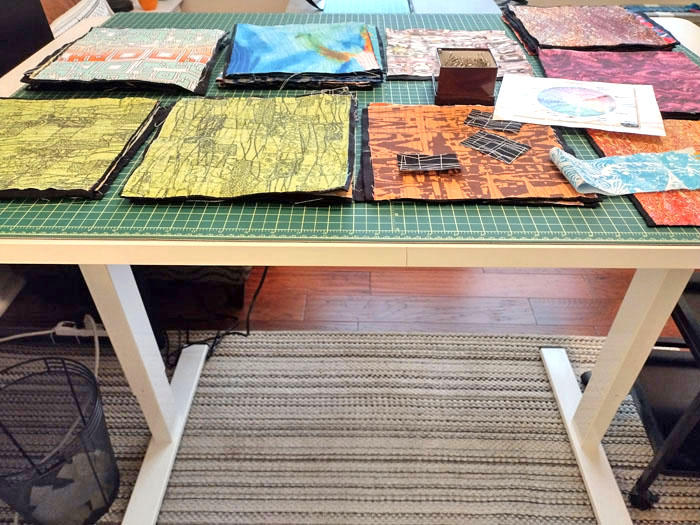
Once the minis are cut, I place a sheet of Pellon fusible interfacing. Then, I add a piece of black acrylic felt as the backing for each one. I then use the interface to hold the fabric square in place while I sew on it.
I have used this 100% polyester interfacing (model 906F) since 2008. I keep it in the studio by the bolt. The bolt is 30 yards and 22″ wide. The interfacing is fusible on one side and woven on the other side. The fabric can be placed on top; then ironed to adhere it. The interfacing is for sheer-to-lightweight fabrics. It does not affect the hand of the final piece, making it too stiff.
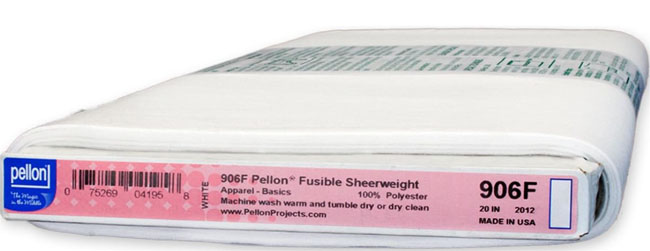
NOTE: Fusible interfacing – Amazon | Pellon
So, why don’t I just keep the entire quilted piece intact? I can just sew the entire backing to save time.
The answer is that each design requires a different sewing treatment to enhance it. So, I take the time to cut the squares individually because the sewing treatment on them is different. This work is pretty repetitive and once you are in the groove, it goes fast.
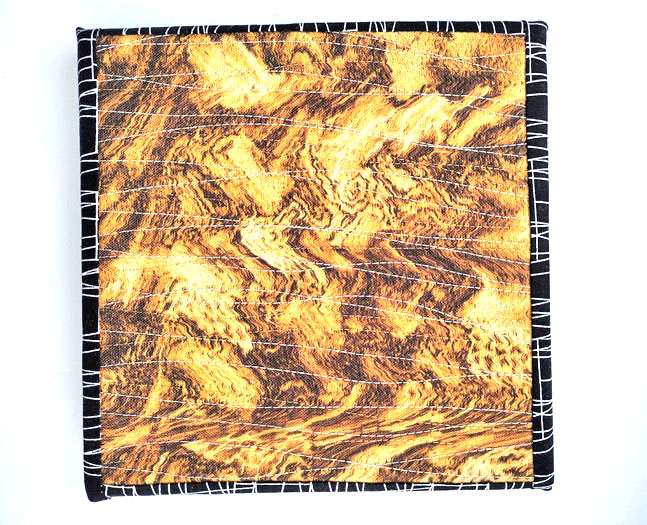
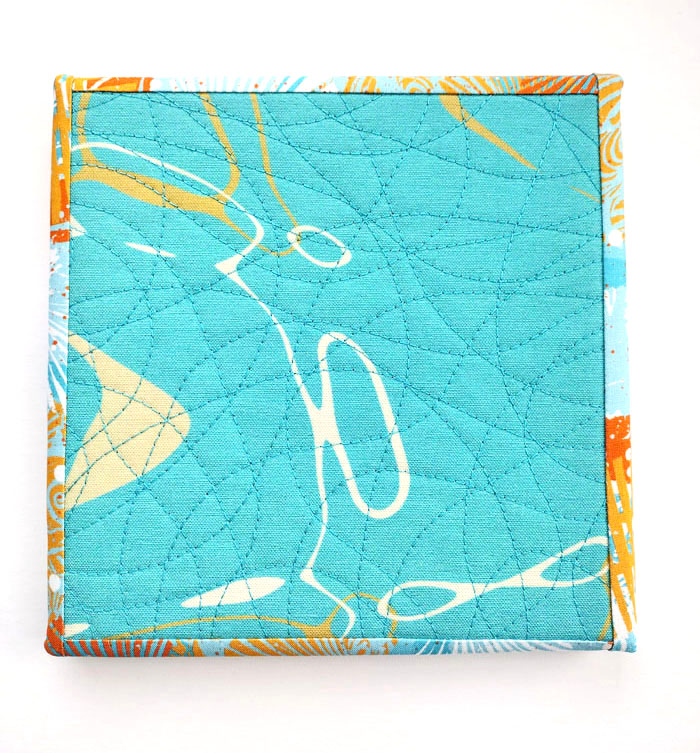
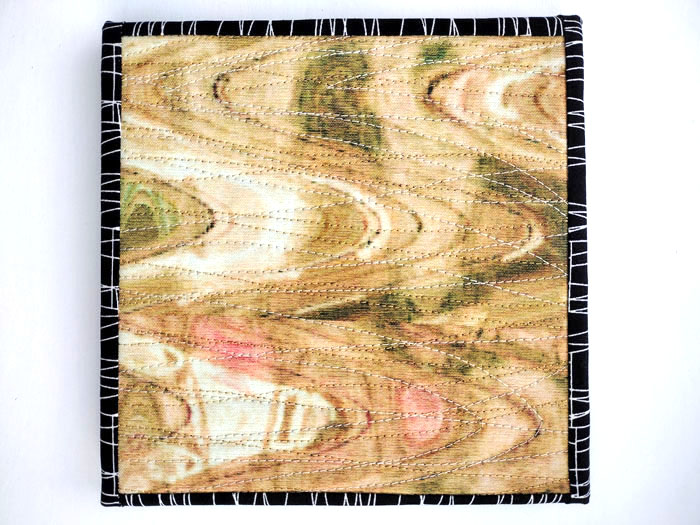
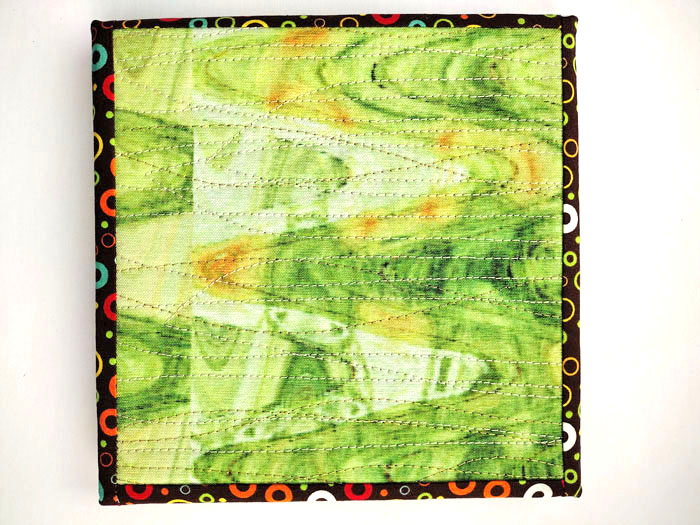
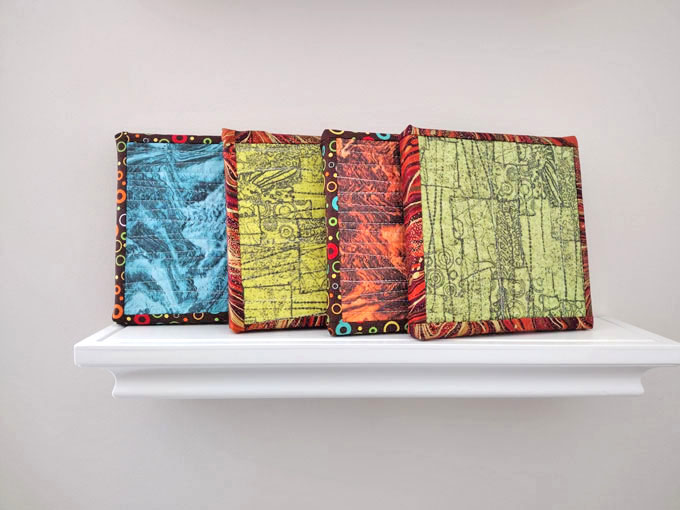
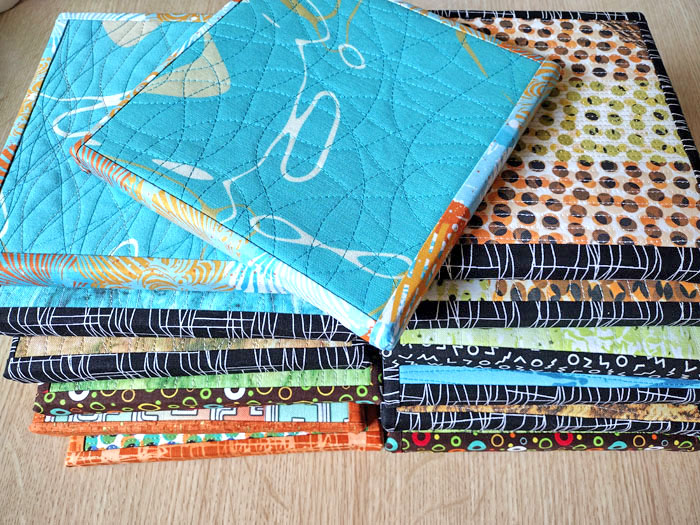
Some of the designs in this batch are from my older collections. These include Luxury (2014), Home (2015) and Future Code (2016).

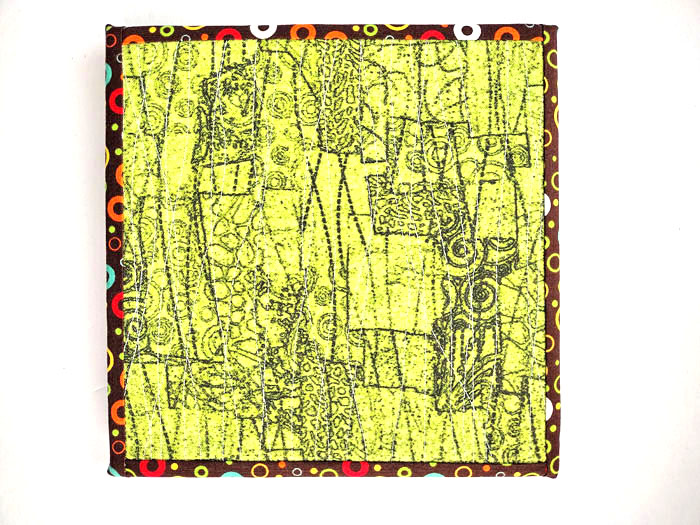
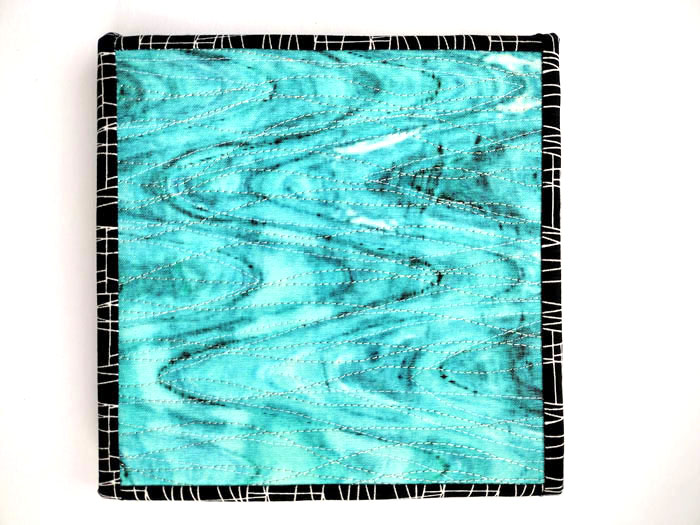
Confettiscape – Lime is a new piece from an upcoming collection. It is a remake of Confetti PopArt from my 2015 collection.
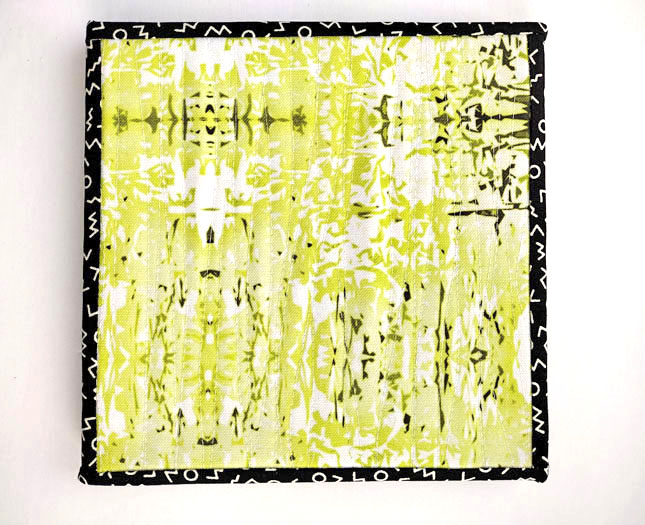
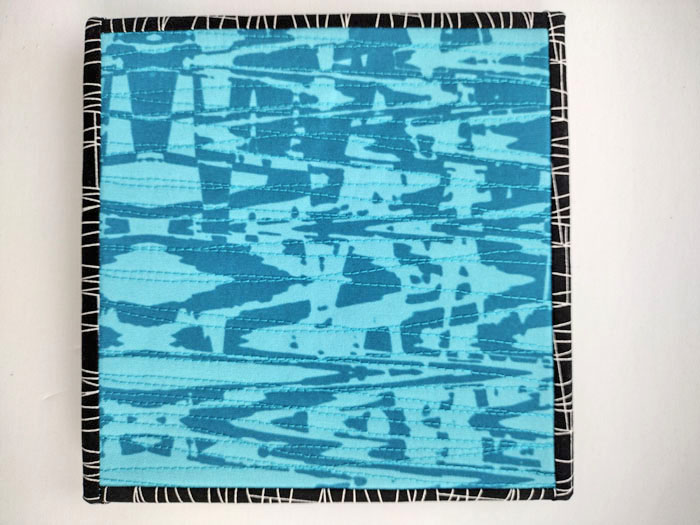
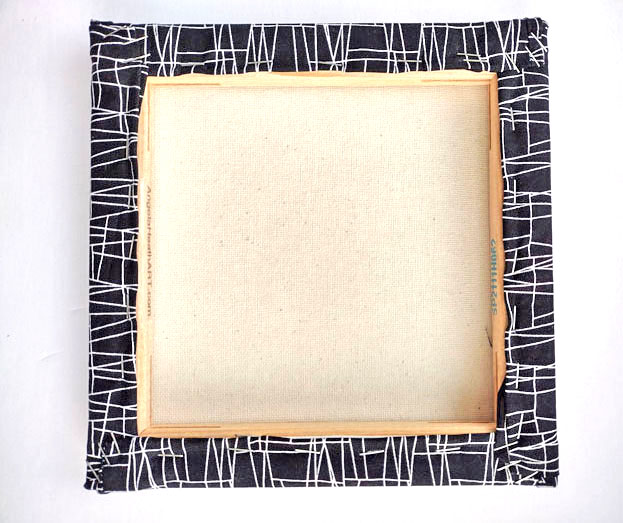
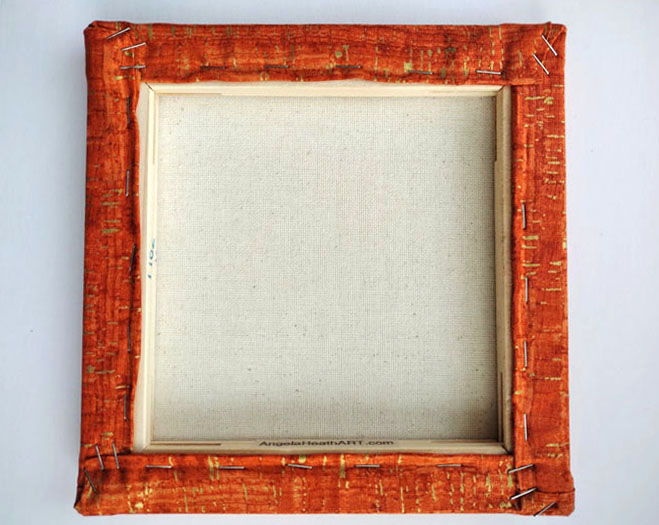
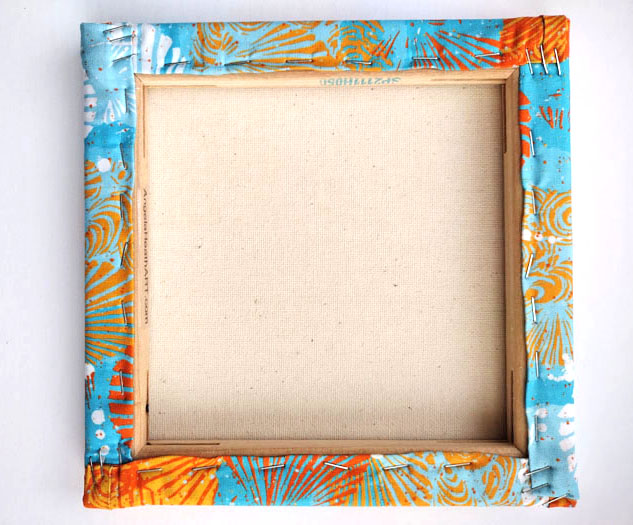
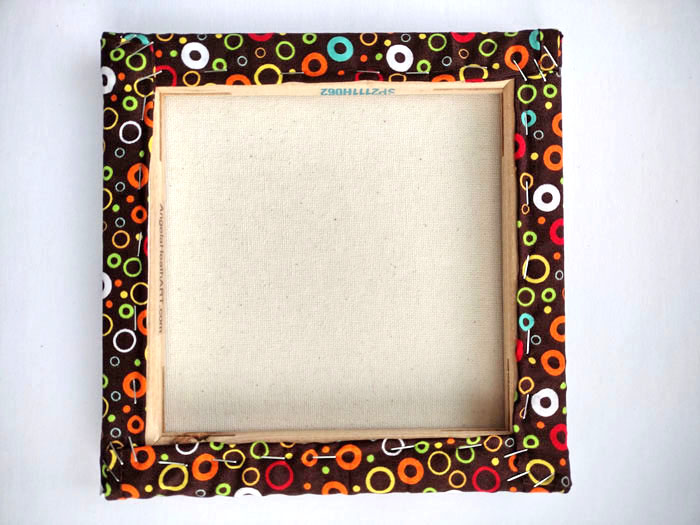
To finish the minis, I cut them down to fit an 8″ square stretched canvas. Then, I attach a complimentary fabric binding and stretch around the canvas. The binding is done by sewing two strips to the top and then two strips to the bottom.
See my article on working on these mini quilts for a show.
On the back, I fold and staple the excess fabric all the way around the wooden canvas frame. There is no glue used to do this.
I really like the way that these minis have come out. This is a great way to showcase my digital designs. They are quick easy for me to make in bulk. The other positive is that unlike many quilted works, these mini quilts do not break the bank of my collectors who wish to own an original piece from my studio.
Resources
Angela heath Art – Digital Surface Designs
https://angelaheathart.com/digital-surface-designs/
Angela Heath Maker Studio – Making Mini Quilts for a Show
https://angelaheathmakerstudio.wordpress.com/2023/09/06/making-mini-quilts-for-a-show/
Pellon Fusible Interfacing (Sheerweight)
Pellon – https://www.pellonprojects.com/products/906f-fusible-sheerweight/
Amazon – https://www.amazon.com/gp/product/B004BP3FBG/ref=ppx_yo_dt_b_search_asin_title?ie=UTF8&psc=1
Flexispot Standing Desk – Amazon
https://www.amazon.com/gp/product/B07W8W8XKV/ref=ppx_yo_dt_b_search_asin_title?ie=UTF8&th=1

Leave a comment